+ View the NASA Portal
Search Stardust
Comet Wild 2 Photos
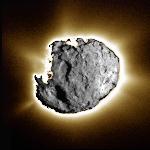
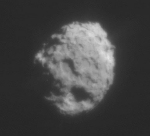
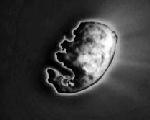
Composite Image of Comet Wild 2
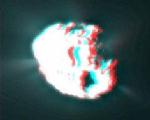
Stereo Image Pair of Comet Wild 2
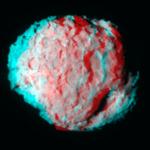
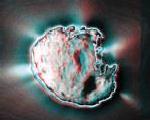
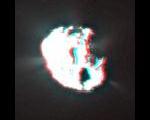
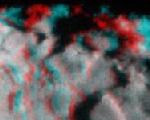
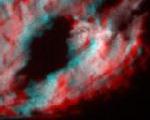
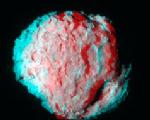
Red/Green Stereo Anaglyph of Comet Wild 2
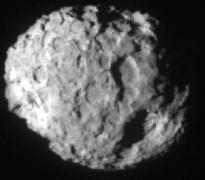
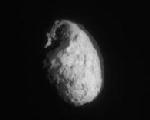
Stardust Image of Comet Wild 2
Animation Sequence of Stardust Comet Wild 2 Images
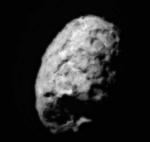
Stardust Image of Comet Wild 2
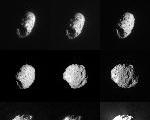
A Dozen Views of Wild 2
Wild 2 Mosaic
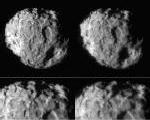
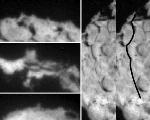
Wild 2: Three Stereo Views
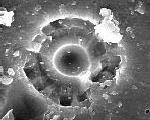
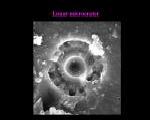
Lunar Glass Microcrater
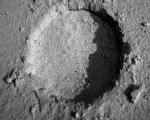
Wild 2 Crater Analog in Lab
Wild 2 Features
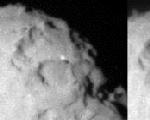
Spots on Wild 2
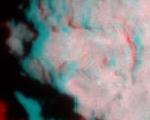
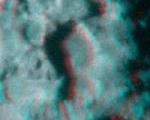
Wild 2 Stereo Anaglyph
Jets and Brightness
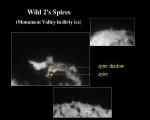
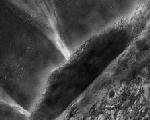
Wild 2 Pinnacles
Wild 2 Depression
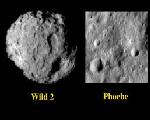
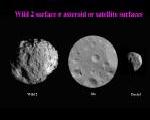
Wild 2, Phoebe Comparison
Wild 2, Asteroid Comparison
Lunar Glass Microcrater with PR
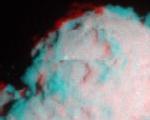
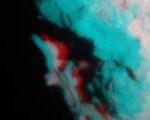
Wild 2 Anaglyph with Jets
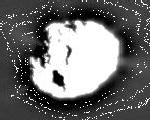
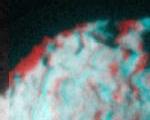
Wild 2 Anaglyph with Dark Side
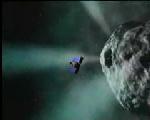
Artist Conception of Wild 2
Stereo Image: Rahe Crater on Wild 2
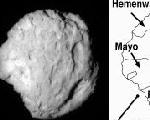
Stereo Image: Mayo Region, Wild 2
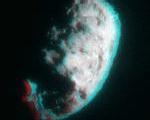
Stereo Image: Full View of Wild 2
Stereo Image: Bright Spot in Hemenway
Stereo Image: Right Foot
Stereo Image: Left Foot
Stereo Image: Shoe
Stereo Image: North Hemenway
Animation: Wild 2 in Full View
Animation: Composite Wild 2 Image Sequence
Animation: Stereo Image Sequence of Wild 2
Animation: Stereo Image Sequence of WIld'2 Jets
Animation: Comet Particle Hits on Stardust
Animation: Wild 2 Jets
Animation: Stardust Path Through Wild 2 Jets
+ Freedom of Information Act
+ The President's Management Agenda
+ FY 2002 Agency Performance and accountability report
+ NASA Privacy Statement, Disclaimer, and Accessiblity Certification
+ Freedom to Manage
Site Manager:
Aimee Whalen
Webmaster:
Ron Baalke