Skip Navigation: Avoid going through Home page links and jump straight to content
NASA Logo - Jet Propulsion Laboratory    + View the NASA Portal
Search Stardust  
JPL Home Earth Solar System Stars & Galaxies Technology
Stardust Banner
Overview Mission Science Technology Newsroom Education Gallery Links Stardust Home
 
Science Photos
Landing Photos
People Photos
Multimedia
Cleanroom Photos
Comet Wild 2 Photos
Aerogel Photos
Asteroid Annefrank Photos
Launch Images
Spacecraft Images
Miscellenous Photos
Outreach
Artist Renderings


gal_msn_photos.gif
 
Comet Wild 2 Stereo Images
1097899fig8_s.jpg
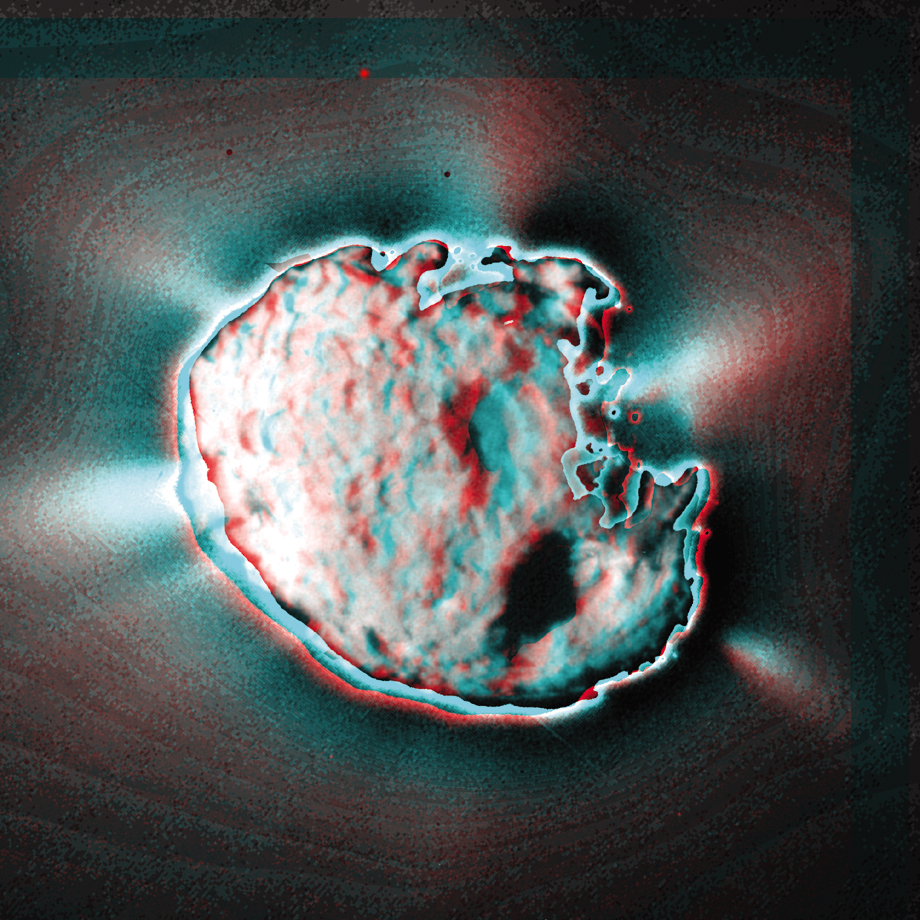
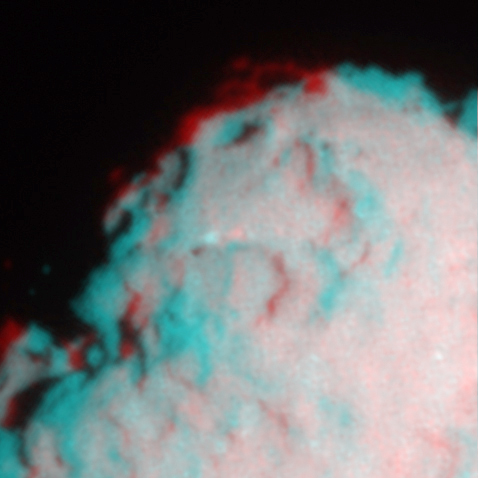
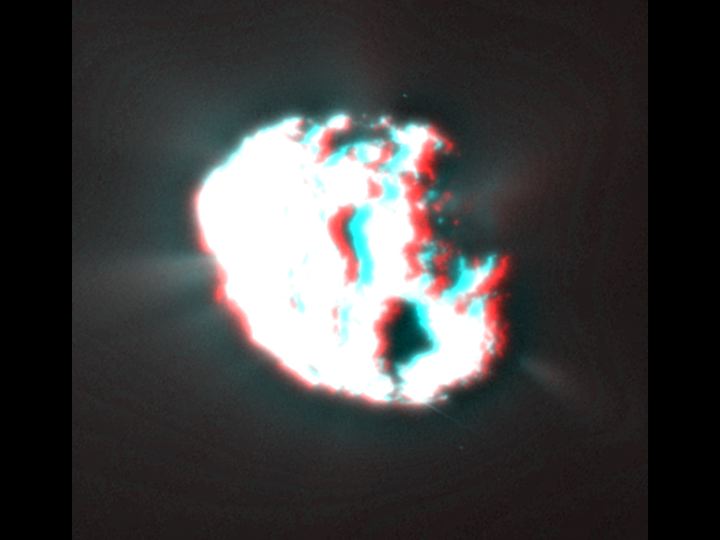
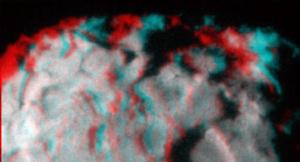
Figure 8: Wild 2 Stereo Anaglyph
JPEG Image (938K)

A stereo anaglyph (magenta on right) of comet Wild 2 shows the comet and jets seen as sunlight reflected from outward-flowing dust and rocks. Unusual jets from the shadowed side can be seen coming from Walker, on the right side of the nucleus, and from a region below Walker.

rahestereo_s.jpg
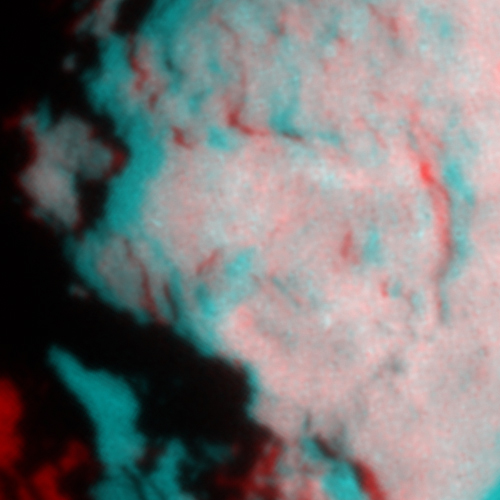
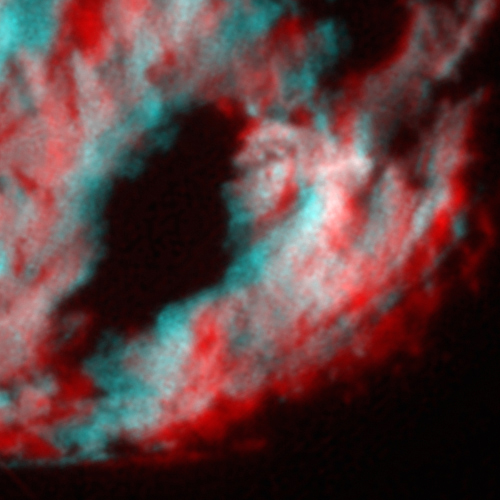
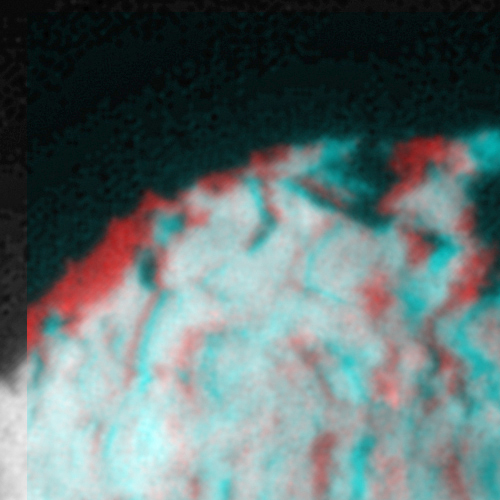
Rahe Crater on Wild 2
JPEG Image (516K)

Stereo view of the Rahe, a pit halo crater in the northern regions of Wild 2. This kilometer feature is similar microcraters found on lunar rocks but it is a morphology never seen before for large craters. It is believed to have formed by the high speed impact of a body on a cohesive surface under microgravity conditions.


mayostereo_s.jpg
Mayo Region, Wild 2
JPEG Image (159K)

Stereo view of the Mayo region, an irregular depression with containing s everal active jets. Notable features include the two steep sided blocks resting on the depression floor.

sidestereo_s.jpg
Full View of Wild 2
JPEG Image (197K)

Full view showing Hemenway, Mayo and Shoemaker. The central region of the terminator illustrates the remarkably rugged nature of the surface of Wild 2.

spotstereo_s.jpg
Bright Spot in Hemenway
JPEG Image (140K)

The bight spot in the central region of Hemenway is a mystery. It might be the location cooled by escaping gas.


rfstereo_s.jpg
Right Foot
JPEG Image (174K)

Right Foor, a deep depression showing structure on the floor and layering exposed on the s outheast wall. Note the overhang on the northern rim.

lfstereo_s.jpg
Left Foot
JPEG Image (180K)

Left Foot, a 140 meter deep depression with a flat floor and near vertical walls.

monvalley_s.jpg
Wild 2 Depression
JPEG Image (30K)

This stereo anaglyph shows a large depression on comet Wild 2, with a Sun-illuminated pinnacle in its center and a large mesa on its western edge. Note the pinnacle's shadow on the west wall of the depression.


shoestereo_s.jpg
Shoe Stereo
JPEG Image (133K)

hemenorthstereo_s.jpg
North Hemenway
JPEG Image (181K)


jets1_s.jpg
Wild 2 Anaglyph with Jets
JPEG Image (26K)

An anaglyph (red-blue) stereo image showing jets. The two jets on the right are remarkable in that they come from sources on the comet's dark side.

jets2_s.jpg
Wild 2 Anaglyph with Dark Side
JPEG Image (23K)

This anaglyph (red-blue) stereo image showing jets on comet Wild 2. The two jets on the right are remarkable in that they come from sources on the comet's dark side.

See Also Stardust Images and Stardust Animations


Last updated June 17, 2004


Privacy F.A.Q. Contact Sitemap Credit
 
FIRST GOV + Freedom of Information Act
+ The President's Management Agenda
+ FY 2002 Agency Performance and accountability report
+ NASA Privacy Statement, Disclaimer, and Accessiblity Certification
+ Freedom to Manage
NASA Home Page Site Manager:
Aimee Whalen

Webmaster:
Ron Baalke

http://www.jpl.nasa.gov http://www.nasa.gov http://www.caltech.edu/